How to Propagate Monstera (Water and Soil, Step by Step)
Turn one leggy Monstera into dozens of thriving baby plants. Master node identification, water rooting timelines, soil transitions, and aerial root layering.

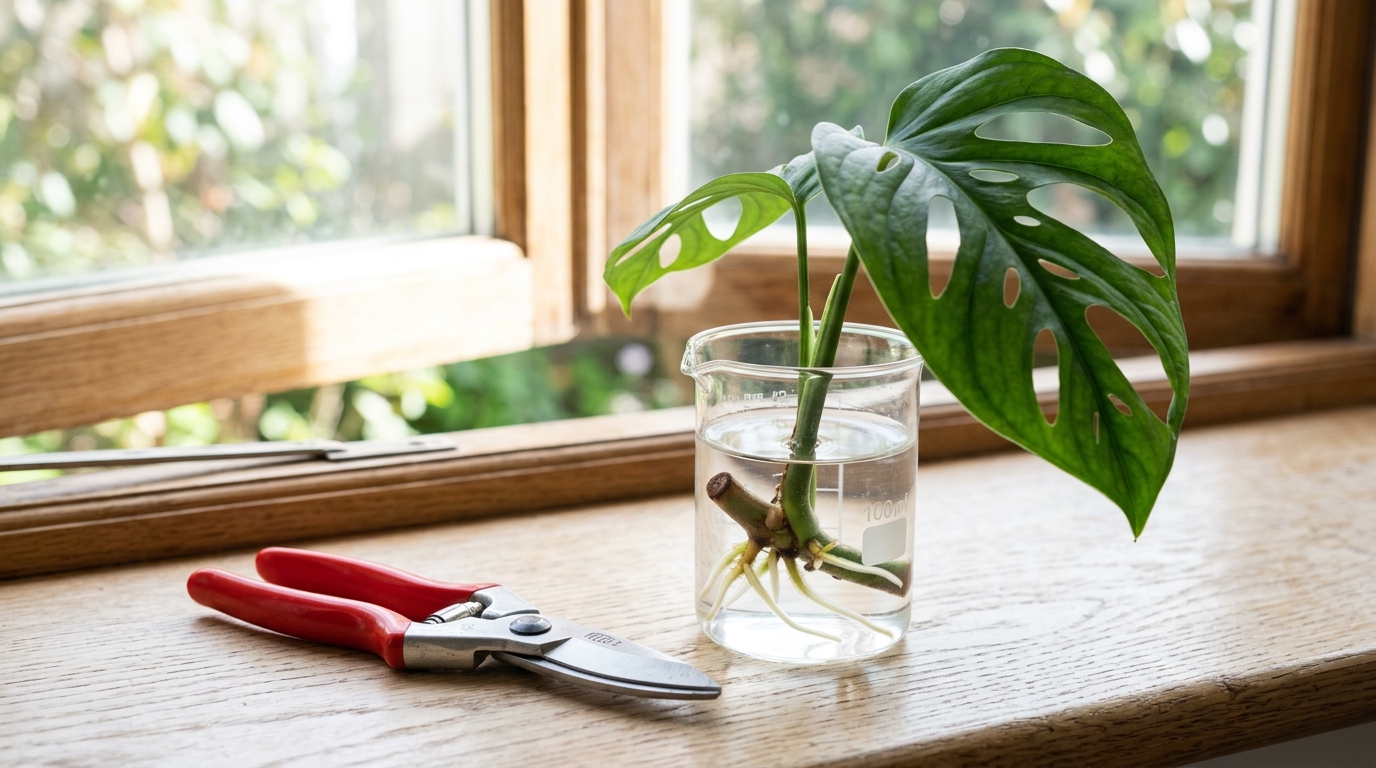

Propagating Monstera deliciosa is the most satisfying ritual in indoor gardening. Whether you are pruning an unruly vine, rescuing a plant from root rot, or creating living botanical gifts, stem cuttings root with remarkable vigor when you respect plant anatomy.
Most failed cuttings fail for one of two reasons: either the cutting had no node, or it rotted in stagnant, deoxygenated water. Both mistakes are completely preventable.
1. Anatomy 101: Finding the Node
The golden rule of Monstera propagation: A leaf cut without a node will never produce new stems.
A node is a slightly swollen, circular ring or bump along the vine where leaves, aerial roots, and dormant axillary growth buds intersect. The smooth stretches of green stem between leaves are internodes:
- •Run your fingers along the stem behind a leaf petiole.
- •Look for a raised brown ring, often accompanied by a small brown aerial root nub.
- •That node contains the undifferentiated meristem cells responsible for generating new roots and vines.
If someone gives you a leaf cut along the petiole without that stem ring, that single leaf will grow water roots and survive in a vase for months, but it will remain a zombie leaf forever. Always ensure every cutting has at least one prominent node.
2. Where and How to Cut
3. Water Propagation: Realistic Week-by-Week Timeline
Submerge the node and aerial root in a clean glass vessel (such as our [Walnut Glass Propagation Station](/shop/walnut-propagation-station)) filled with room-temperature filtered water. Ensure all leaf blades remain completely above the waterline. Place on an East windowsill with bright indirect light.
| Stage | Realistic Timing | What is Happening | Care Action |
|---|---|---|---|
| Callusing | Days 1 – 7 | The cut stem end hardens over | Keep in bright indirect light; do not disturb. |
| Root Nubs | Weeks 1 – 2 | Tiny white root points push through the node ring | Change water weekly to replenish dissolved oxygen. |
| Primary Extension | Weeks 2 – 4 | White roots reach 1–2 inches long | Keep water fresh; ensure water does not cloud. |
| Secondary Branching | Weeks 4 – 8 | Tiny lateral root hairs develop along primary roots | Ready to pot! Roots have developed nutrient-absorbing architecture. |
| First New Leaf | Months 2 – 3 | A delicate pale green leaf unfurls from the new shoot | Provide consistent light and begin diluted feeding. |
4. Comparing Rooting Mediums: Water vs Soil vs Perlite
- •Water Rooting: Highest visibility, easiest for beginners, aesthetically stunning on a windowsill. Downsides: slight transplant shock when moving from water to soil.
- •Semi-Hydroponic Perlite / Sphagnum: Excellent oxygen saturation around developing roots with virtually zero transplant shock.
- •Direct Chunky Soil: Zero transition shock, but progress is invisible and overwatering is easy.
5. Transitioning Water Roots into Soil
Water roots are physiologically different from soil roots: they are thinner, more brittle, and adapted to aquatic oxygen levels. When moving your rooted cutting into soil:
Frequently Asked Questions
Can you propagate a Monstera without a node?
No. The node is the only part of a Monstera containing the meristematic cells required to form new vegetative shoots. Without a node, a leaf will never grow into a new plant.
How long does a Monstera cutting take to root in water?
Initial white root points appear in 1–2 weeks under warm, bright summer conditions. Cuttings are typically ready to pot into soil within 4–8 weeks.
Why is my Monstera cutting rotting in water?
Bacterial rot occurs when water is stale, water temperature is cold, or leaves are submerged. Prune off black mushy tissue, refresh the water, and place in brighter indirect light.
Sources & References
- •University of Florida IFAS Extension: EDIS Publication HS311, Monstera Growing in the Florida Home Landscape.
- •Missouri Botanical Garden: Aroid Vegetative Propagation Principles.
Frequently Asked Questions
Q: Can you propagate monstera without a node?
No. The node is the only part of a monstera that can produce new roots and new shoots. A leaf cutting without a node will never grow into a new plant.
Q: How long does monstera take to root in water?
First root nubs usually appear in 1-2 weeks in warm, bright conditions, with roots long enough to pot up at 4-8 weeks. Winter propagations can take twice as long.
Shop Botanicals Mentioned in This Story
Bring the living plants and tools from this article straight into your home.



More from The Journal
View All Stories →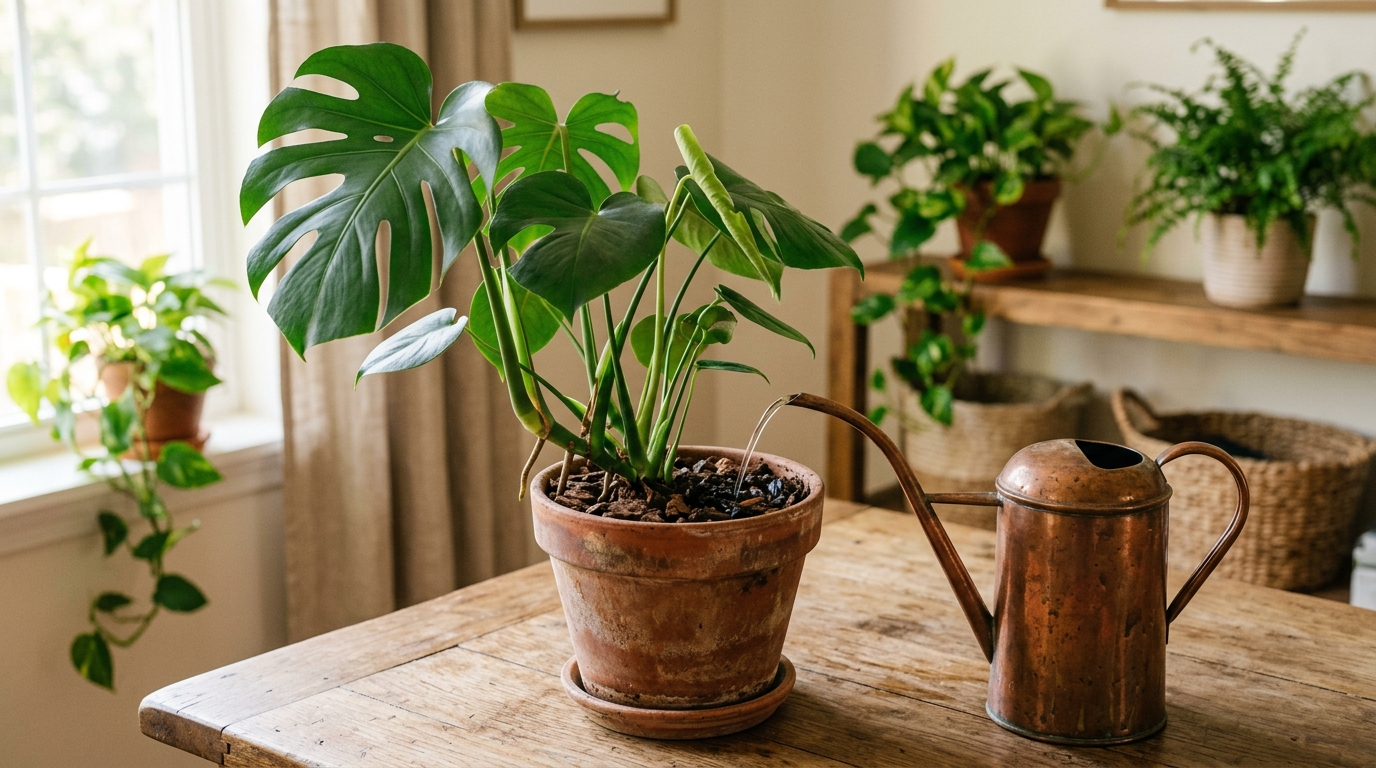
How Often to Water a Monstera (Schedule by Season)
Stop guessing on a rigid calendar. Discover how light, pot material, and seasonal growth cycles dictate your Monstera’s exact hydration needs—with a printable cheat-sheet.
Elena Vance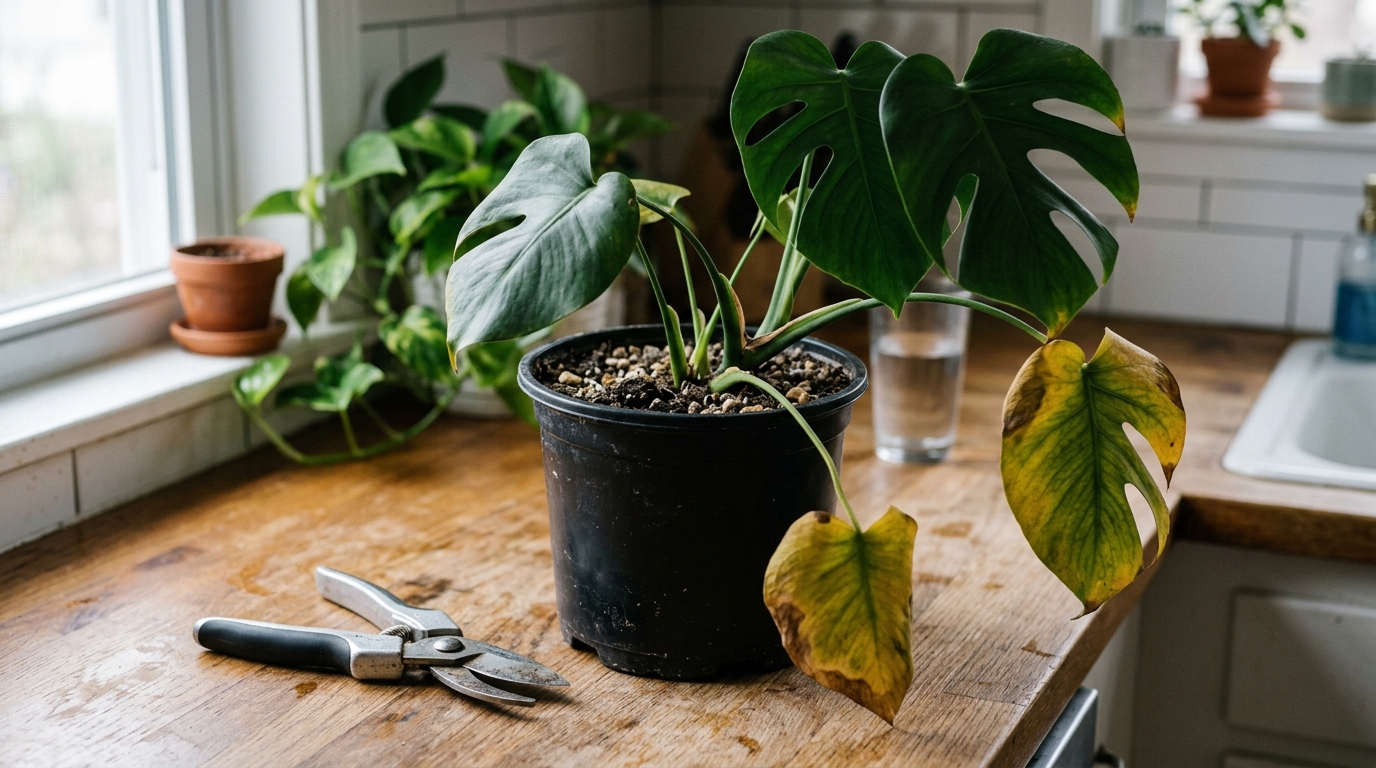
Why Is My Monstera Dying? 7 Fixes for Yellow Leaves, Root Rot & Drooping
Do not panic when your prized Monstera develops yellow leaves or limp stems. Follow our emergency triage protocol to diagnose root rot, shock, or pests—and nurse it back to life.
Elena Vance